STEP 1: #
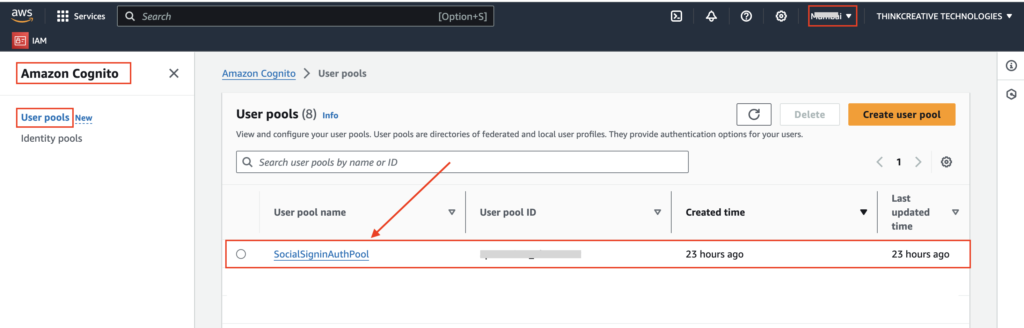
Social SignIn User pool will be created successfully. You can find this in:
AWS Console –> Amazon cognito –> User pools –> Select Region > “SocialSignInAuthPool“, (NOTE: You should be in the same AWS region from the top right region selector)
Click on “SocialSigninAuthPool“
STEP 2: #
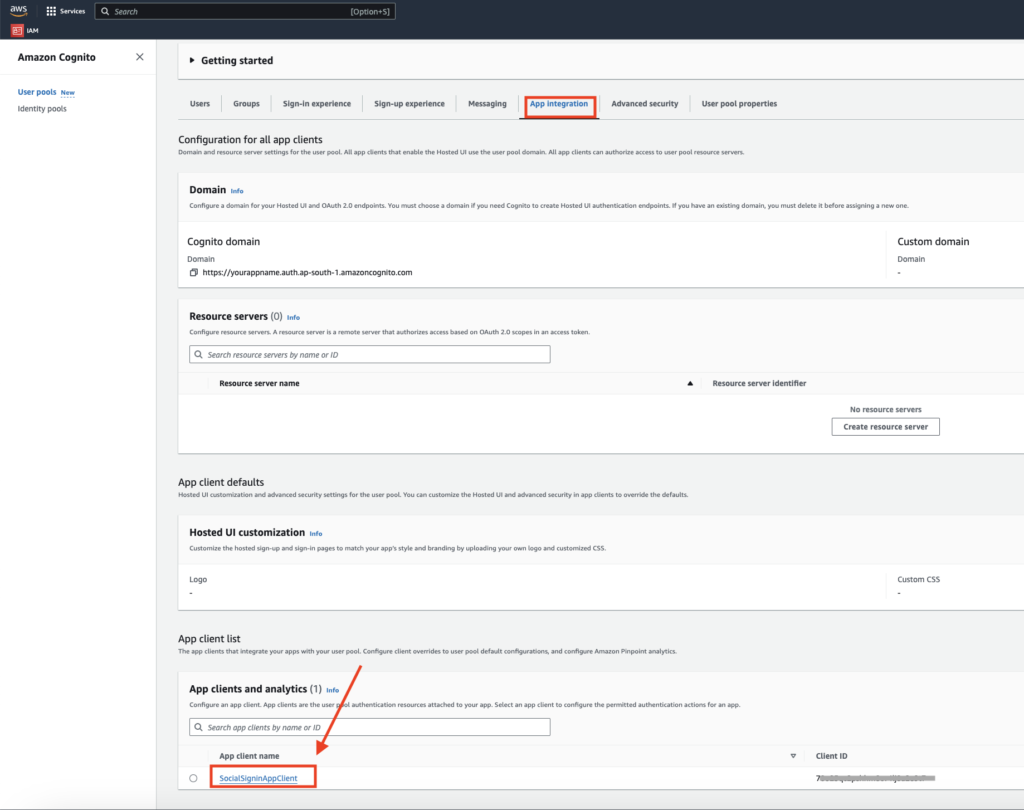
- Go to “App Integration” tab
- Click on “SocialSignInAppCLient” located at the bottom
STEP 3: #
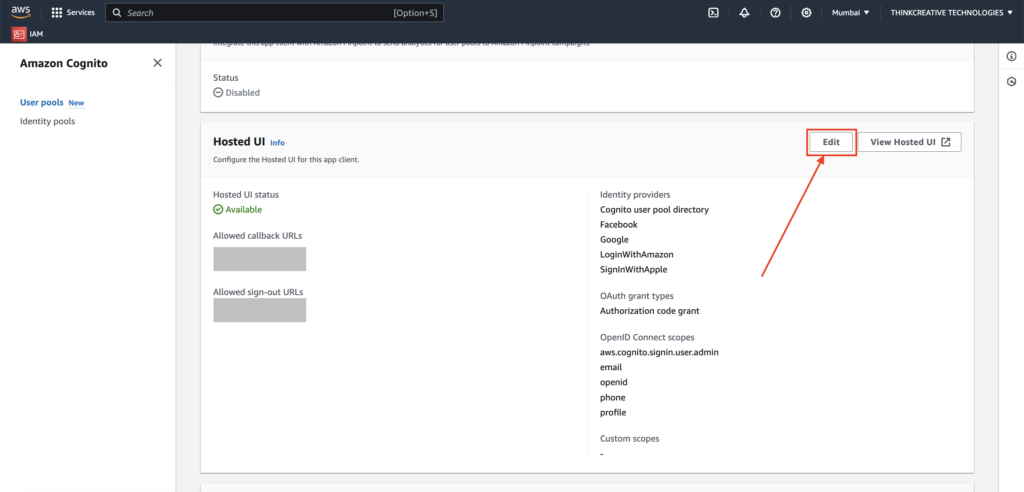
Scroll Down and Click on “Edit” to edit the Hosted UI
STEP 4: #
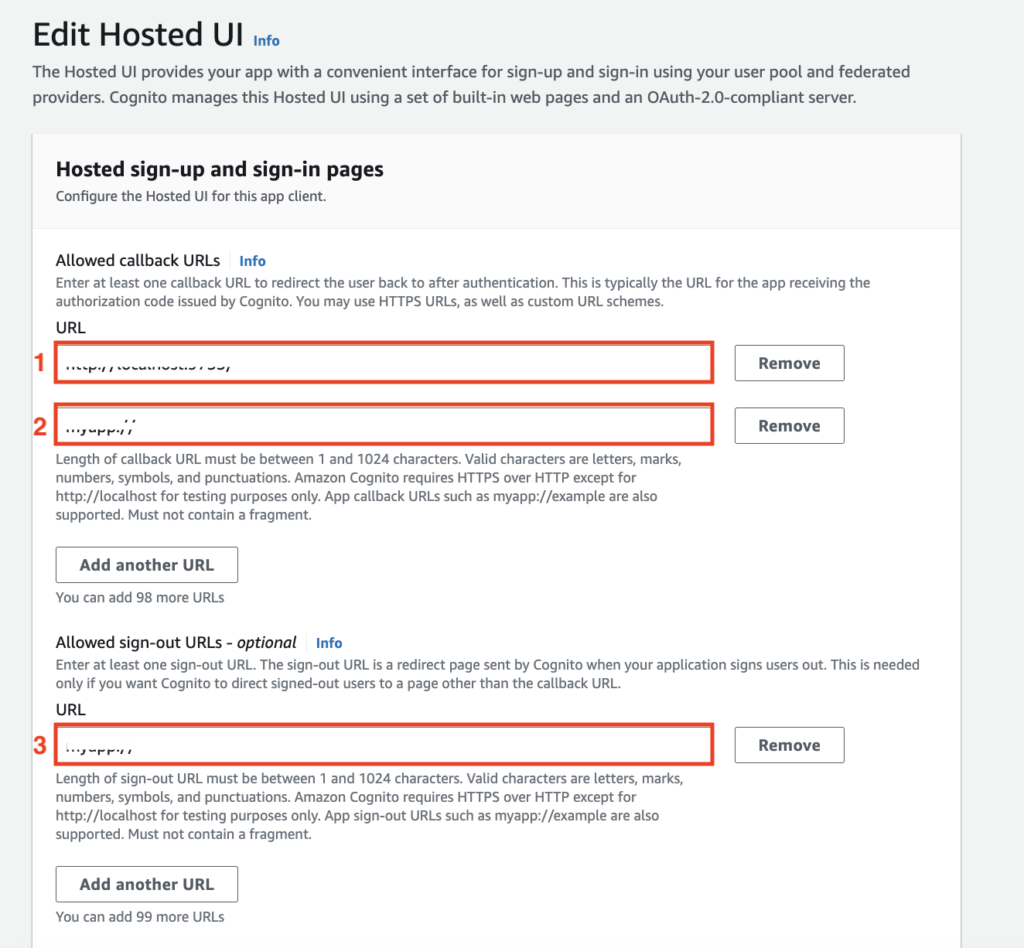
- Allowed Callback URLs should be: http://localhost:9753/
- Another Callback URLs should be: myapp-appaname://
- Allowed Signout URL should be: myapp-appaname://. (may be not required as per steps)
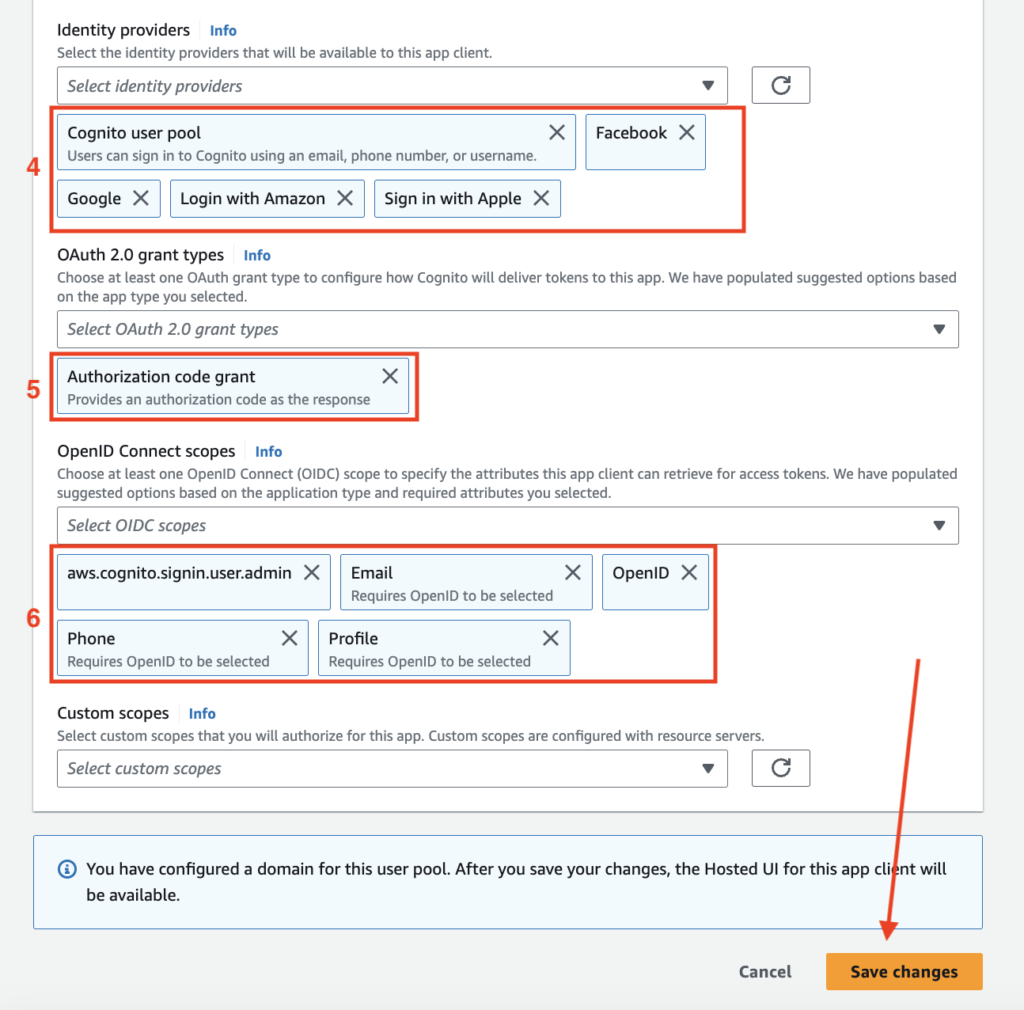
- Select Identity Providers as shown below
- Select Oauth 2.0 grant types as shown below
- Select Open ID connect Scopes as shown below
STEP 5: [NOT CORRECT] MAY BE #
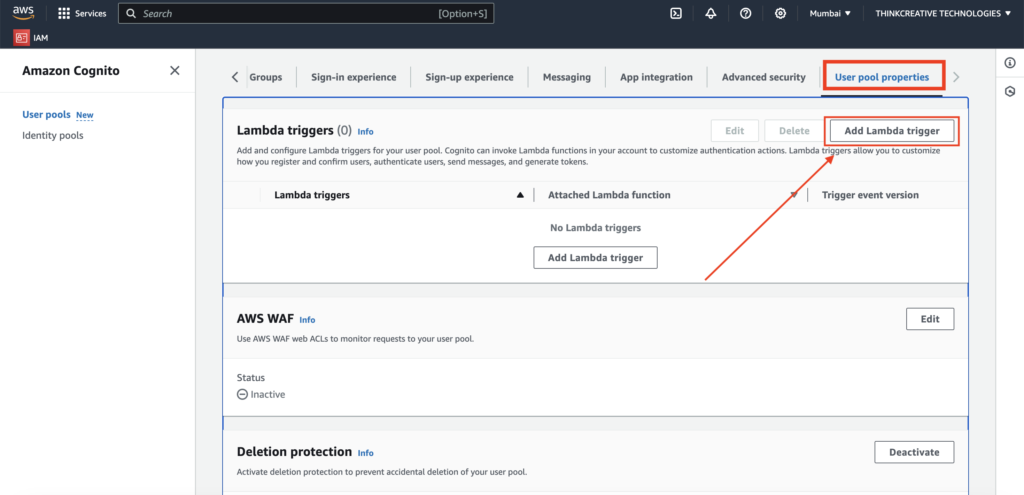
(You can skip steps 5,6 if you need to verify the new user Email/Phone using Verification Code during new account Sign-up process)Go Back to Step-1 and click on “SocialSigninAuthPool” > under “User pool properties” tab > click “Add lambda trigger”
STEP 6: #
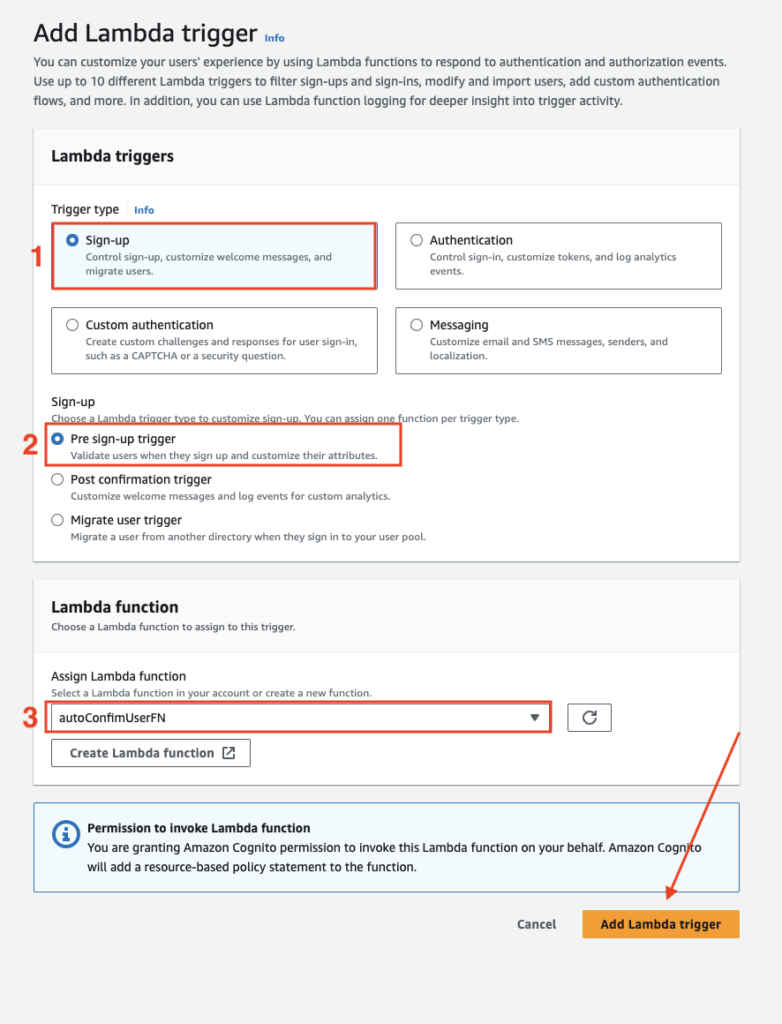
- Select trigger type : Sign-up
- Select Sign-up: Pre sign-up trigger
- Select the Lambda Function: autoConfirmUserFN from the list (if you can’t find the function here, you can refer to & add it using this Guide)
Click “Add lambda trigger“
👏 Congratulations! Social SignIn Auth Pool setup is completed.