STEP 1: Make sure you already have Deployed the Firebase Web App to Firebase Hosting.
STEP 2: Log in to your Firebase Account in any Web Browser, Select the Project ID to open Firebase Console/Dashboard.
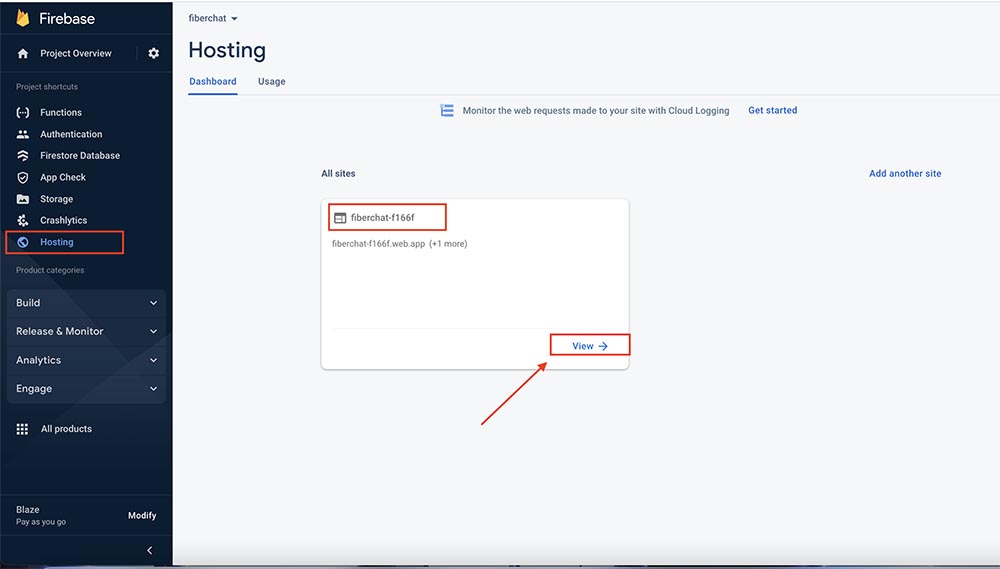
STEP 3: Click on Hosting from the Left menu > Click on “View” in the already deployed web app.
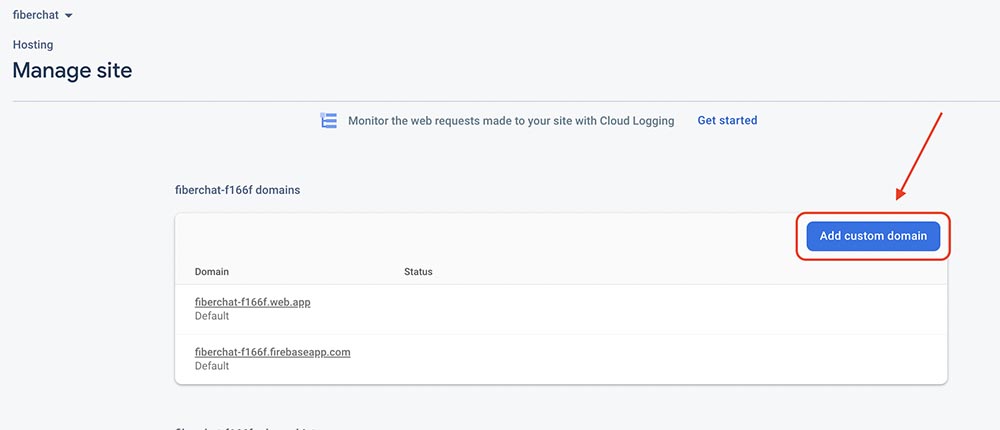
STEP 4: Click on “Add custom domain“
STEP 5: Enter your custom Domain OR Sub-domain. (You must own these domain in order to use)

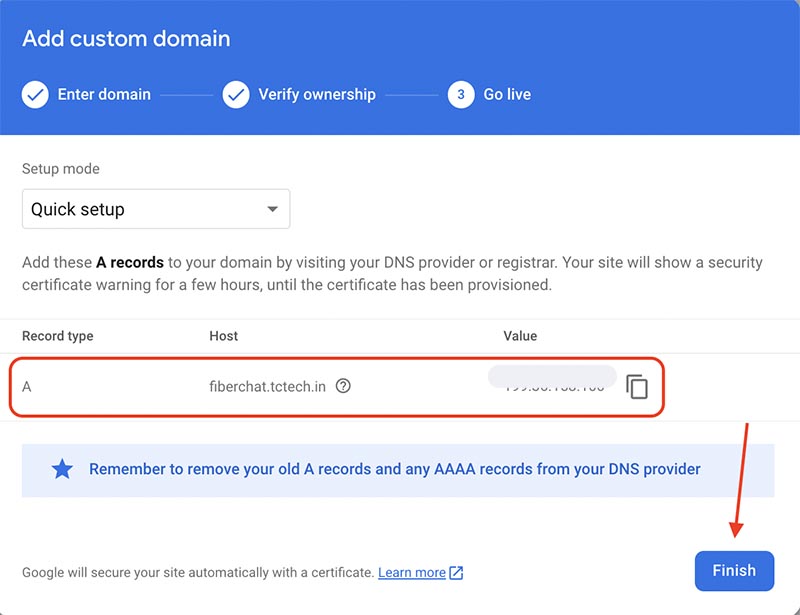
STEP 6: Verify your Domain ownership. Simply create “A” record & copy paste the “Host/value” in your DNS Settings of the GoDaddy/Hostinger/Other account where you have purchased the Domain. Once completed, click on finish
STEP 7: Add your domain (https://yourdomain/) in – FirebaseDashboard > Authentication > Settings > Authorized Domains > “Add Domain“
STEP 8: Visit your Domain to check if the web app is LIVE. Sometimes it may take upto 48hrs for DNS Propagation. (Prefer Clearing browser cache for realtime results)