Add an Android app #
To add an android app to Firebase project, you should have App Package name ready.
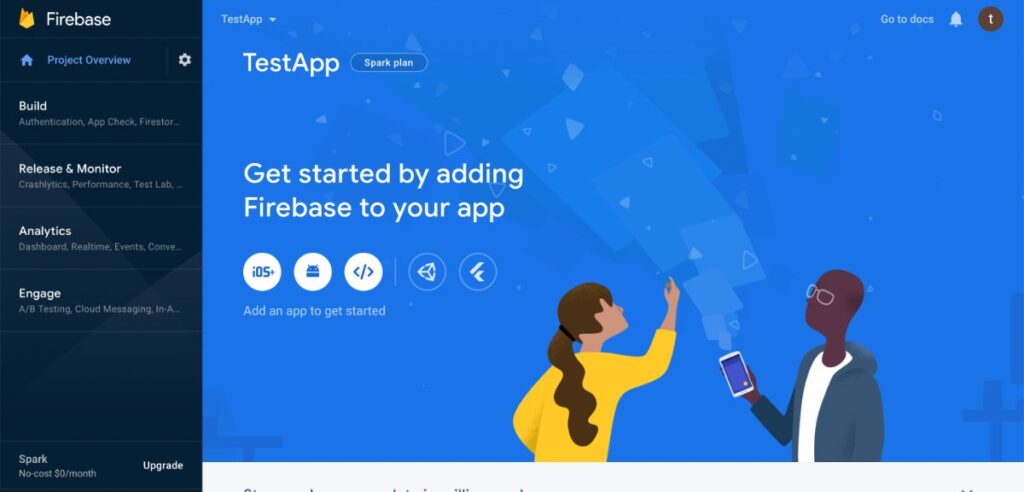
STEP 1.1: Go to Firebase Console & select project to see the Dashboard.
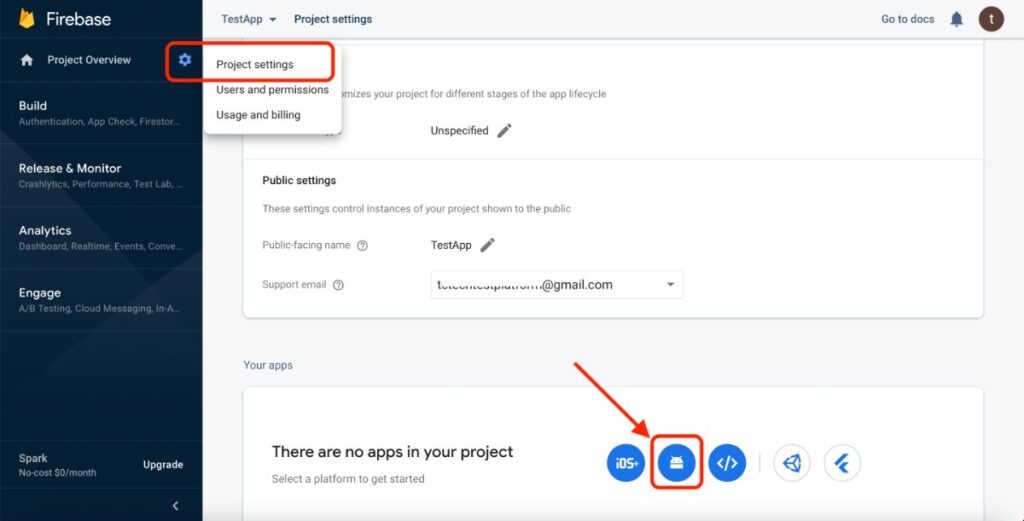
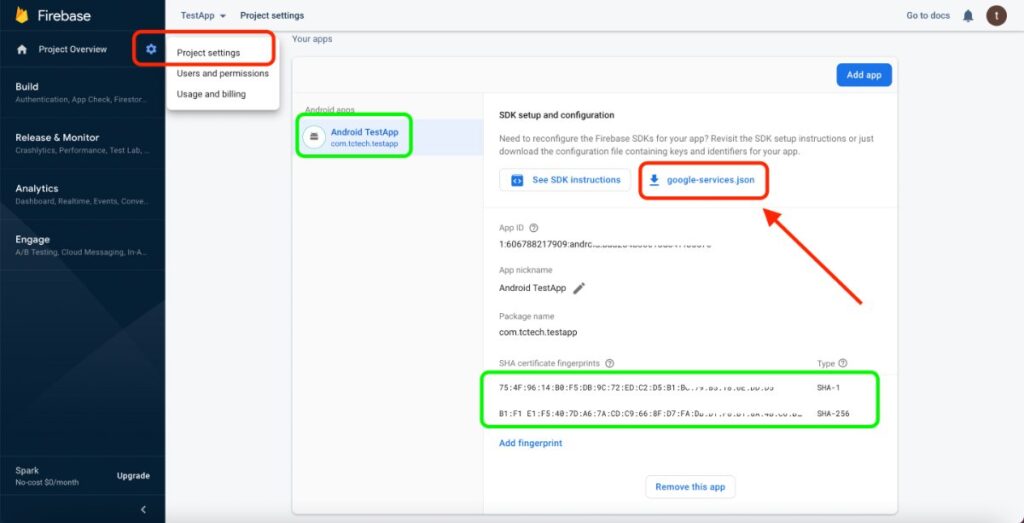
STEP 1.2: Go to Project Settings. At the bottom of general tab, Click on Android logo OR “Add app“
STEP 1.3:
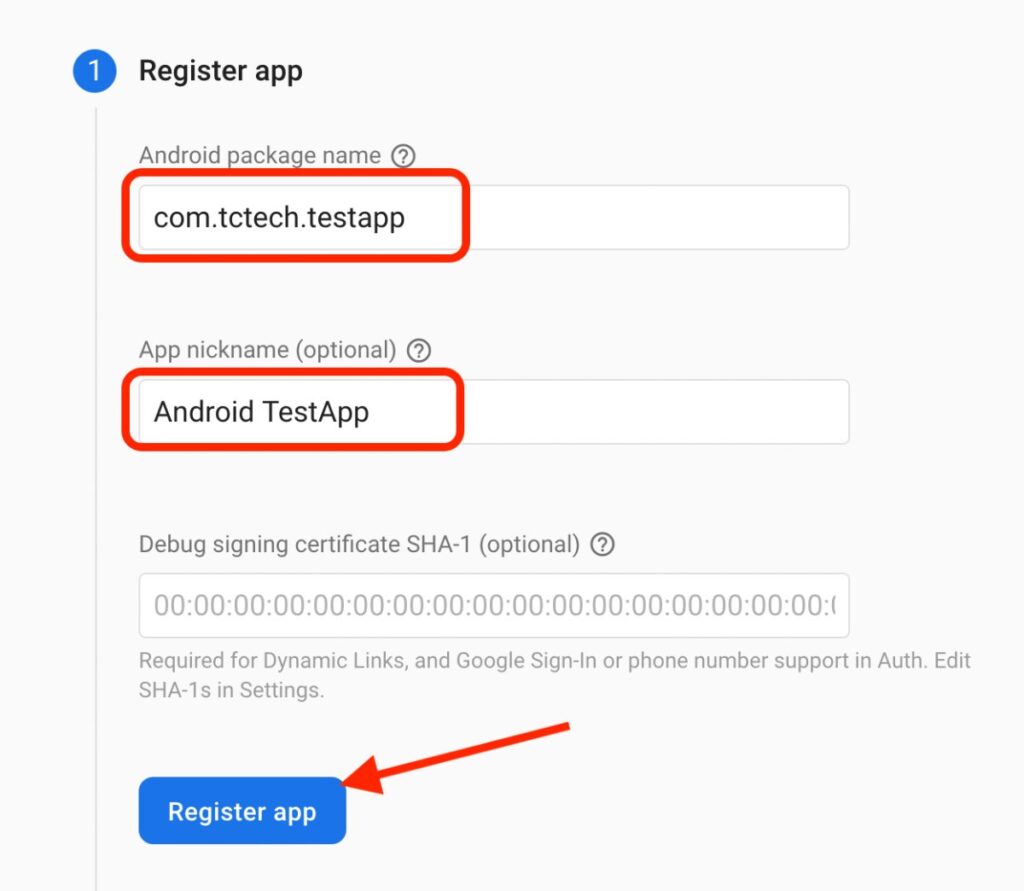
A) Paste your android app package name
B) Set a nickname for this app (Only visible to you, example- User Android App/ Admin Android App etc.)
Click “Register App”, then simply click “Next” > “Next” > “Next”

For our reference, we have used package name as com.tctech.testapp
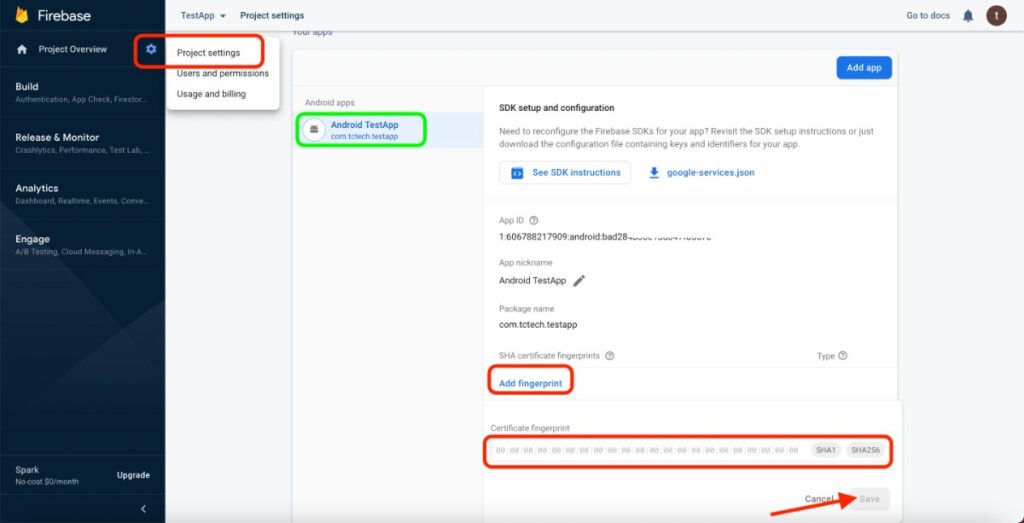
STEP 1.4: Add SHA1 & SHA256 fingerprints for the Android apps.
STEP 1.5: Download the google-services.json file
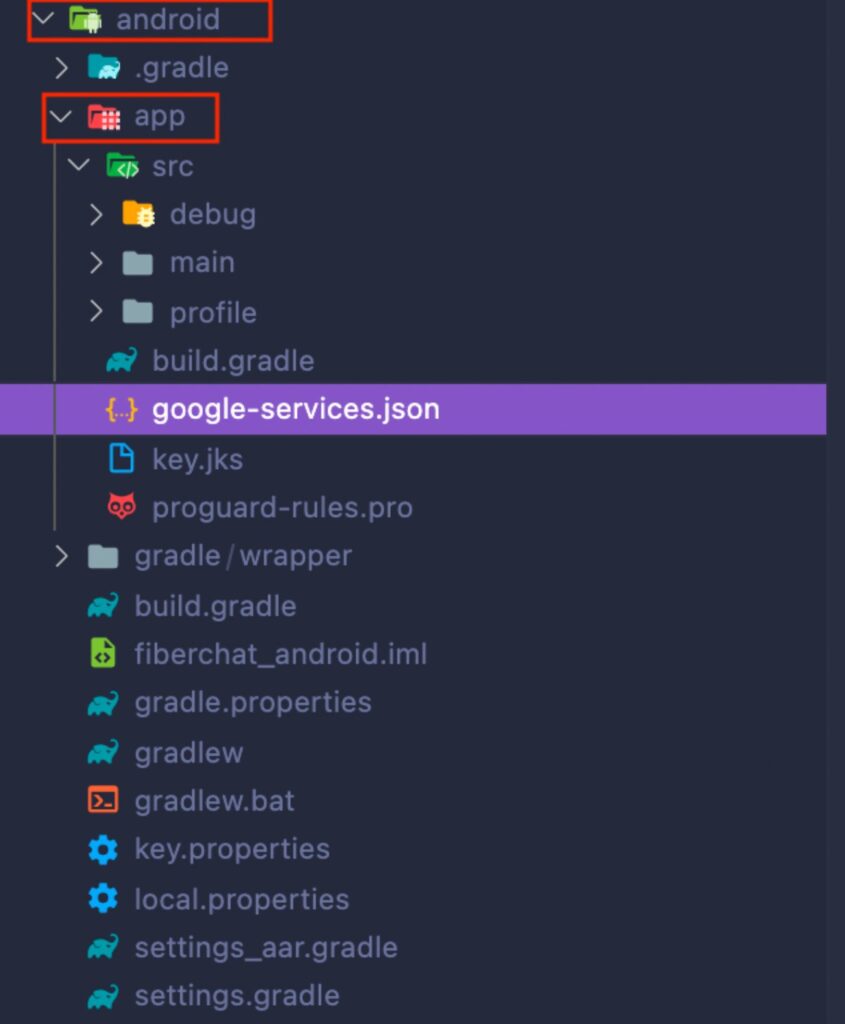
STEP 1.6: Paste it in the path: android/app/google-services.json
👏 Congratulations ! Your new Android app with the package name is linked to your Firebase Project.
Add a iOS app #
To add a iOS app to Firebase project, you should have the App Package name ready.
STEP 2.1: Go to Firebase Console & select project to see the Dashboard.
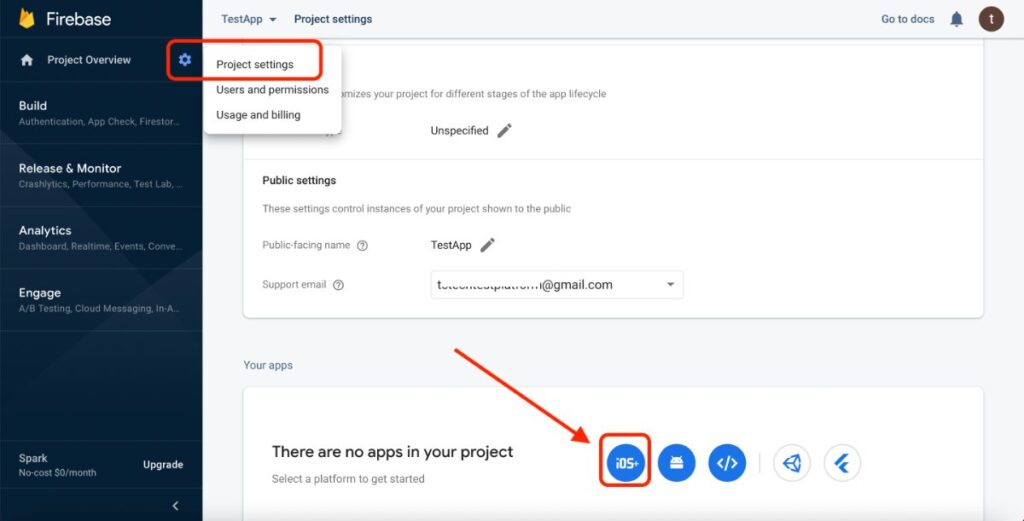
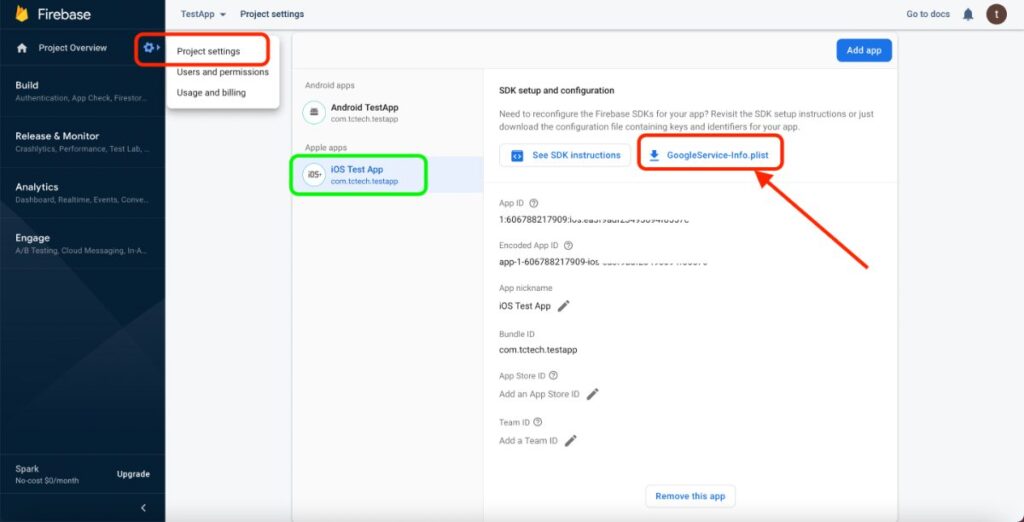
STEP 2.2: Go to Project Settings. At the bottom of general tab, Click on iOS+ logo OR “Add app“
STEP 2.3:
A) Paste your ios app package name
B) Set a nickname for this app (Only visible to you, example- User iOS App/ Admin iOS App etc.)
Click “Register App”, then simply click “Next” > “Next” > “Next”
For our reference, we have used package name as com.tctech.testapp
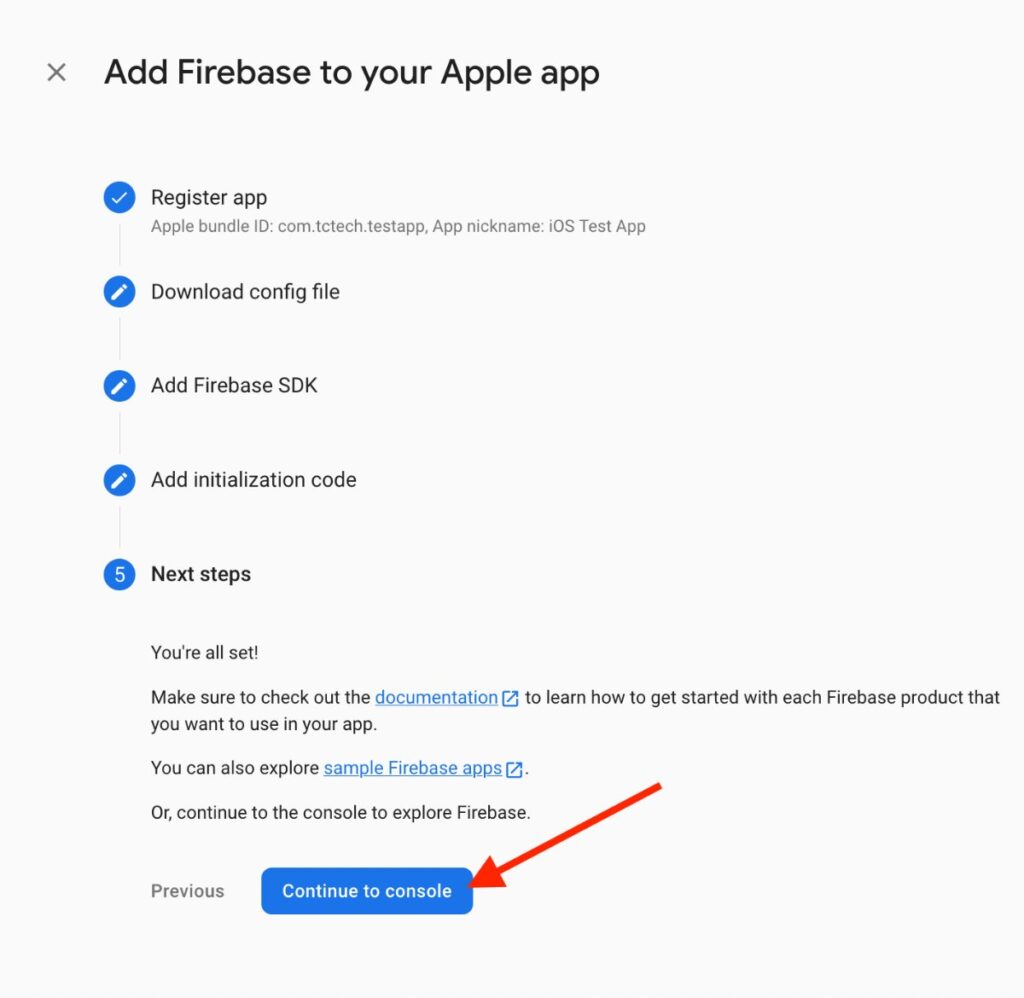
STEP 2.4: Click on “Continue to Console”
STEP 2.5: Download the GoogleService-Info.plist file
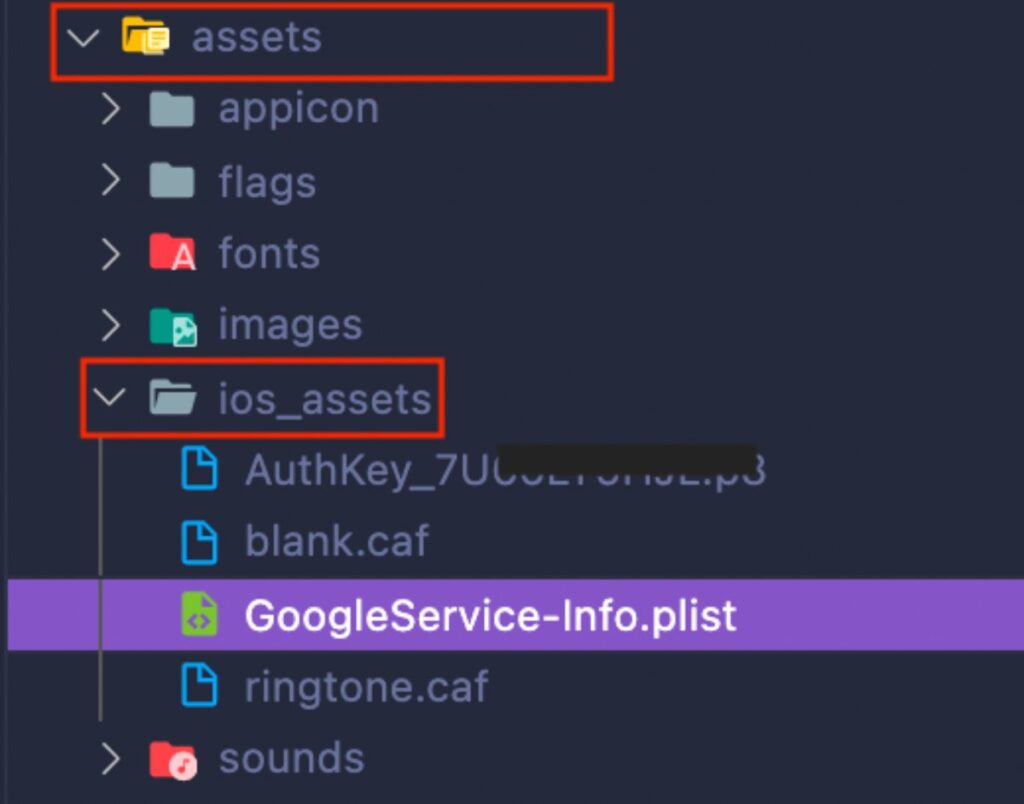
STEP 2.6: Paste it in the path: assets/ios_assets/GoogleService-Info.plist
👏 Congratulations ! Your new iOS app with the package name is linked to your Firebase Project.
Push Notification Setup #
Cloud Functions Deploy #
You can only Set up cloud functions if you have enabled Firebase Billing, you should have BLAZE PLAN active.
STEP 3.1.1: Open the Project Folder in VS Code by simply drag and drop.
PLEASE NOTE: Your system must have NodeJS v20.x.x installed as the Cloud functions will use NodeJS v20+ to deploy functions. You can download the node version from here: https://nodejs.org/en/download. [Recomended version is : 20.5.1]
STEP 3.1.2: Install Firebase CLI by running following command in Vs Code terminal:
sudo npm install -g firebase-tools
STEP 3.1.3: Restart VScode. Login to your Firebase account using CLI by running the following command on by one:
firebase login
cd functions
sudo npm install
sudo npm install --save firebase-functions@latest
cd ..
STEP 3.1.4: After successful login & environment setup, Deploy the Cloud functions to Firebase Cloud Functions section using the command:
firebase deploy --only functions
PLEASE NOTE: If you have multiple apps having different cloud functions already deployed in the same firebase account, then while deploying a new set of functions for a new app, it will ask you a message like “Do you want to erase all other functions?“. Just answer it NO.
This will enable other apps to use their cloud functions respectively.
STEP 3.1.5: Once successful deployment, you will see a message in the terminal “Deploy complete“. You can also find those deployed functions in Firebase Dashboard > Functions sections. (Below image is just for your reference to see how Functions sections looks when functions are deployed, it doesn’t mean you should find all these functions in your functions section.)

FCM Setup for Android #
Push Notification in Android is triggered by Firebase Cloud Messaging (FCM). If your android app is already added in your Firebase project. Then it is automatically linked with FCM. You are not required to do anything else. Push Notification services are enabled by default for your app. Just test it in any real device but not an emulator.
FCM Setup for iOS (APNS) #
Push Notification in iOS is triggered by Firebase Cloud Messaging (FCM) & Apple Push Notification Services (APNS). Your iOS must be already added to your Firebase project. To enable the Push Notification in iOS, just follow these below steps:
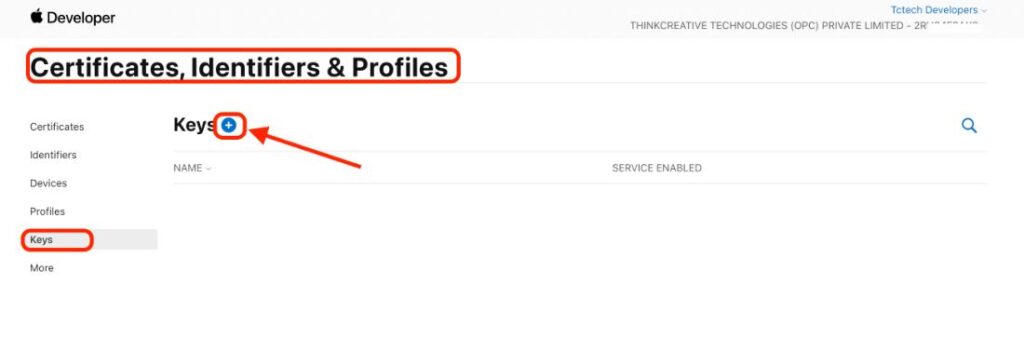
STEP 3.3.1: Login to your Apple Developer Account,(if you don’t have, you need to create one to be able to test, publish ios app).
Navigate to Certificates, Identifiers & Profiles > Keys > Add New from the left menu.
STEP 3.3.2:
Register a New key.
Set the key name as “FirebaseAPNS“.
Tick “Apple Push Notification Services (APNs)“
Click Continue to register it.

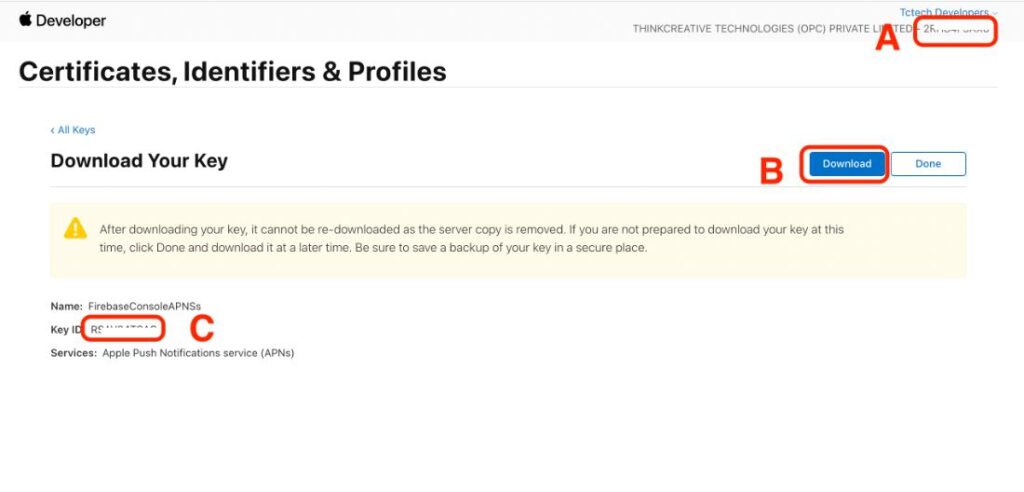
STEP 3.3.3: Once the key is registered follow below steps:
A) Copy the Team ID (keep it aside)
B) Download the Auth key File (keep it aside)
C) Copy the Key ID (keep it aside)
Click “Done” to complete.
STEP 3.3.4: Open Firebase Dashboard > Project Settings
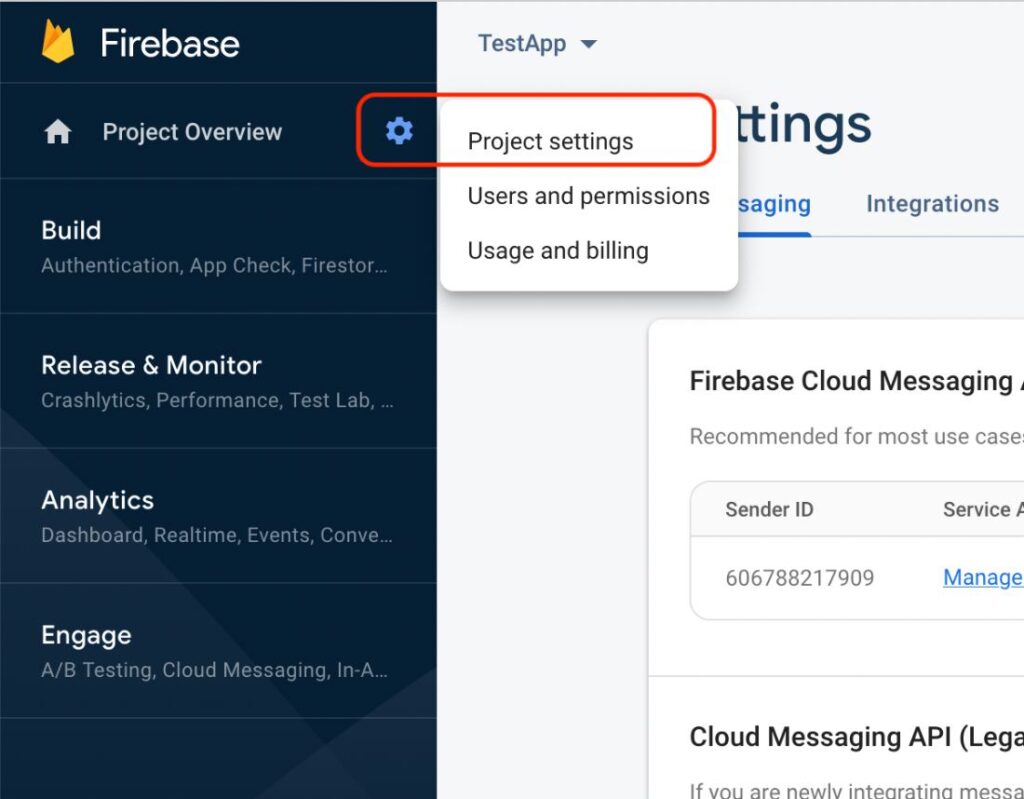
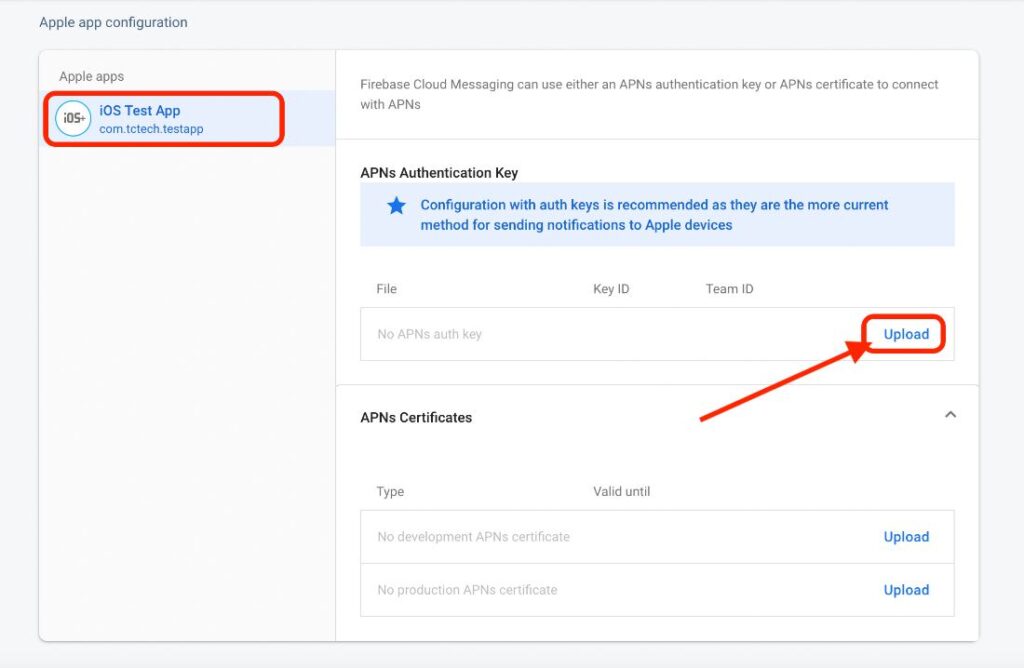
STEP 3.3.5: Click on “Cloud Messaging” tab. For the iOS app, click “Upload”.
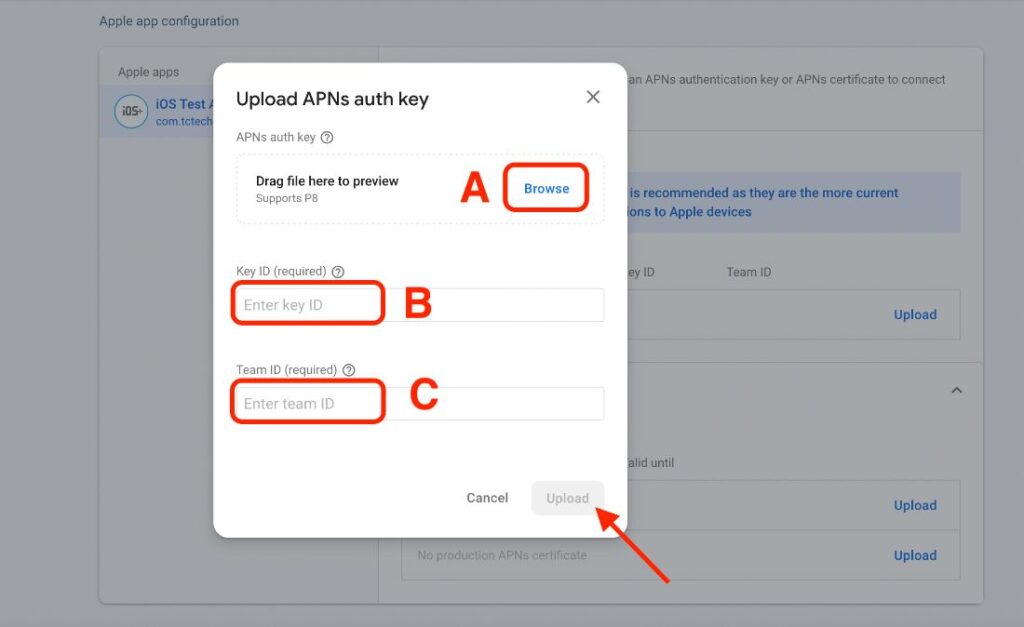
STEP 3.3.6:
A) Click on “Browse” to upload the recently downloaded Auth key file.
B) Paste the Key ID
C) Paste the Team ID
Click upload to register it.
👏 That’s all. iOS Push notifications are now enabled for your Firebase project & for all iOS apps registered in firebase. Please make sure that cloud functions are deployed.