Table of Contents
Part 1: Setup Public Documents #
Step 1.A
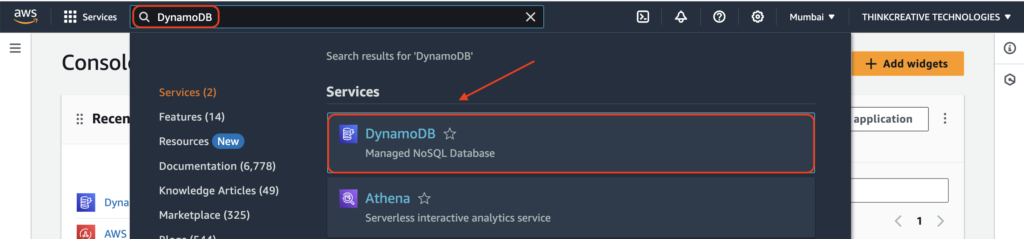
Sign in to the AWS Console, Navigate/Search for DynamoDB
Step 1.B
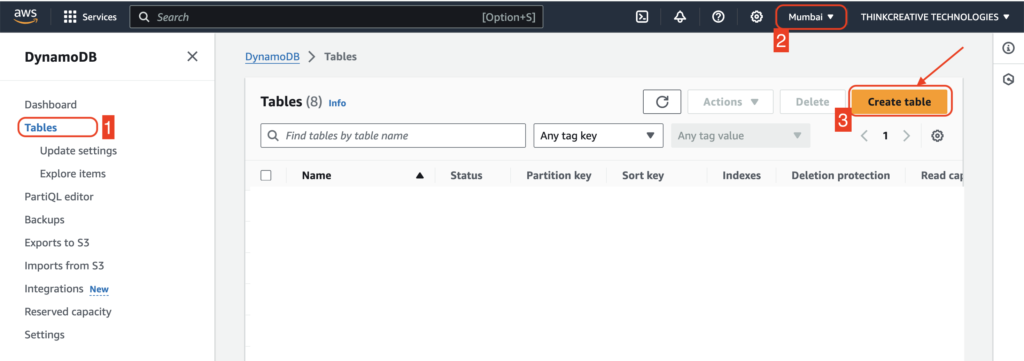
- Click on “Tables” from the left menu.
- Select the correct AWS Region where you already have set up the Authentication Pool
- Click on “Create Table” to create a new table for storing Public Documents
Step 1.C
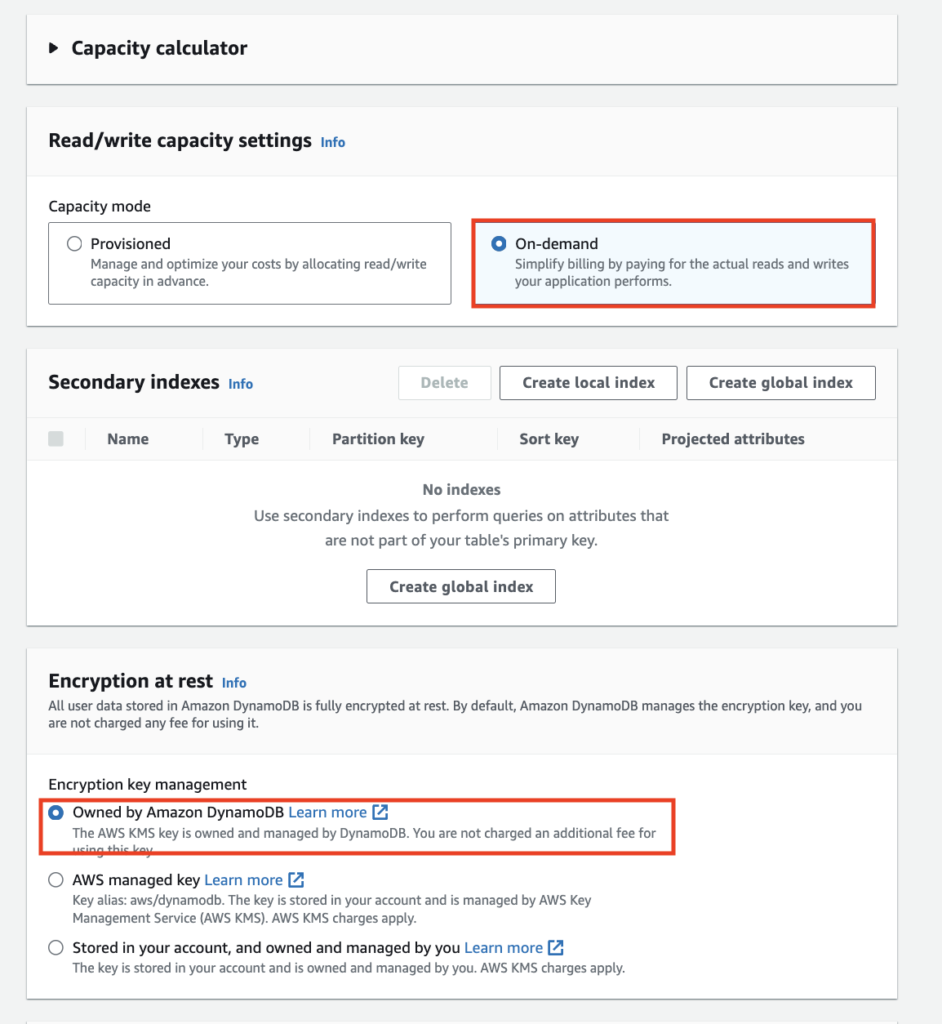
Enter the information exactly as shown below:
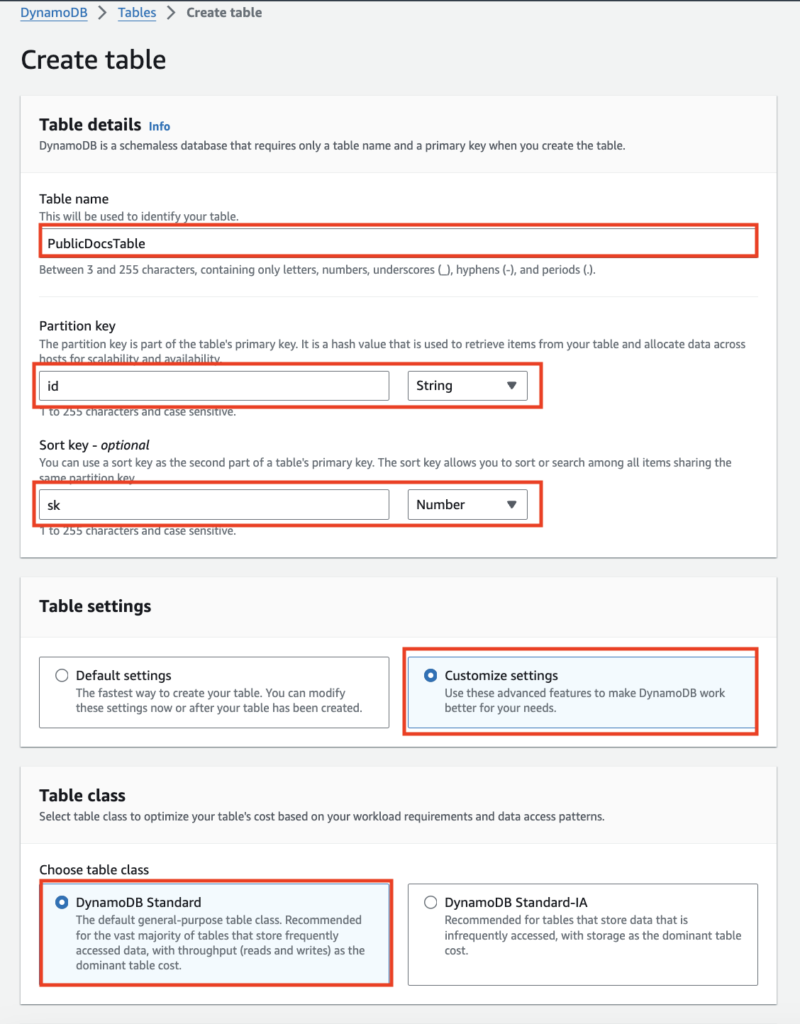
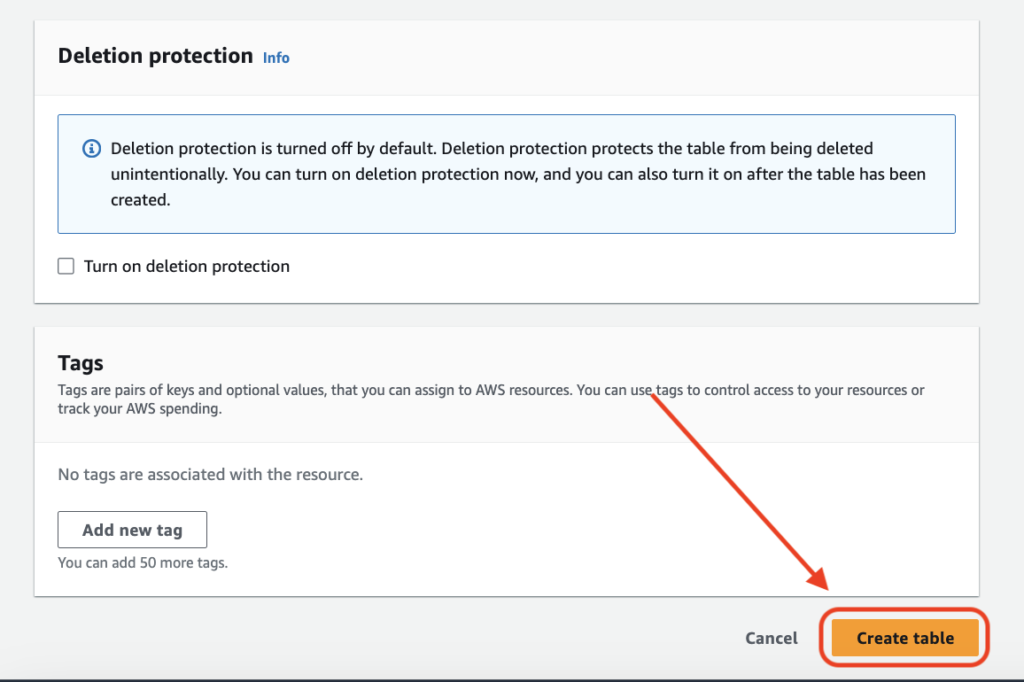
A table will be created named “PublicDocsTable” which we will be using for storing Public Documents
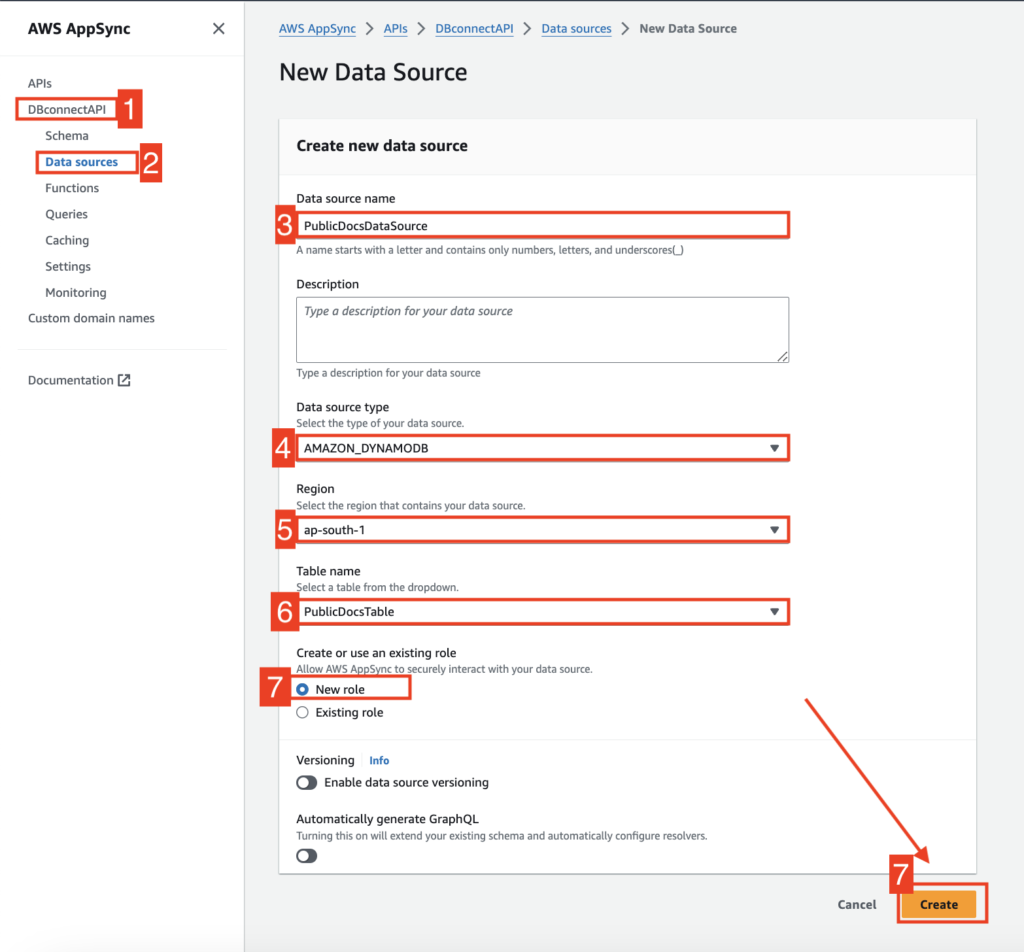
Step 1.D
- From the AWS Console, Navigate to AWS AppSync, Select DBConnectAPI
- Click Data Sources from left menu & click “Create new data Source” button
- Set “PublicDocsDataSource” as name
- Select AMAZON_DYNAMODB as type
- Select your correct AWS region
- Select the previously created Table name – “PublicDocsTable“
- Select “New role”
- Click on “Create” to create a new data source.
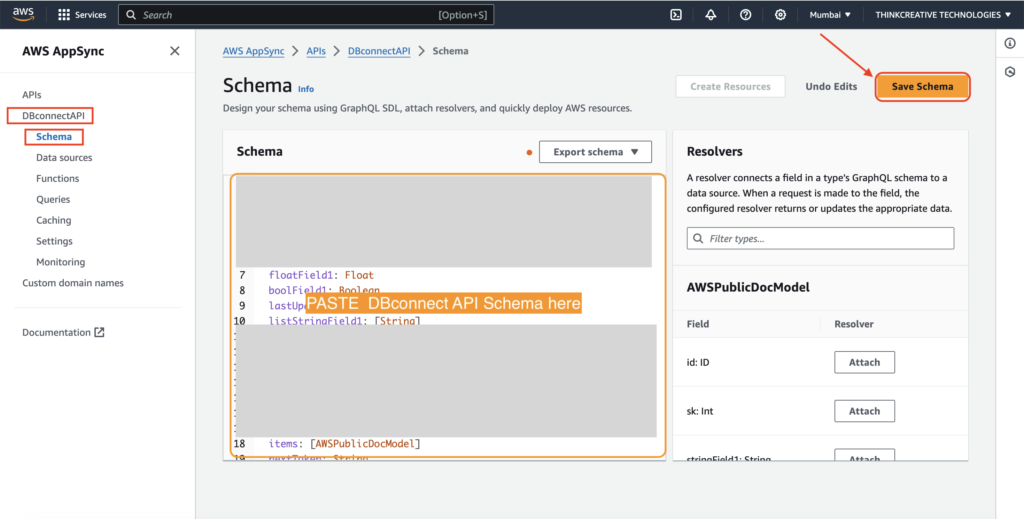
- Select DBConnectAPI
- Click Schema from the left menu
- Paste the code from here: Click here
- Click on the Save Schema button
Next, Attach Resolvers